
Tiny Victorian Top Hat Pattern
I use either Red Heart Super Savor Yarn or Caron Simply Soft Yarn and a size K (6.50 MM) hook. I’m going to put the pattern all together without the pictures first so that the really experienced crocheter can buzz through without having to scroll very much. If you want more clarification for some of the rounds, I’ll put a note that there’s a picture to go with it.
* Ch-2 at the beginning of each round does NOT count as a double crochet.
Rnd 1: Ch 4 and join in the 1st chain to form a ring. Ch 2, 10 dc in ring. Join with a sl st in the first dc. (10 dc) (Image One)
Rnd 2: Ch 2, 2 dc in sam st, 2 dc in each st around. Join with a sl st in first dc. (20 dc) (Image One)
Rnd 3: *Now we’re making the sides of the hat, so for this row you will work in the back (bottom) loops only to cause this row to more easily make a sharp angle rather than a rounded edge.
Ch 2, dc in the back loop of the same st, then dc in the back loop of each st around. Join with a sl st in the first dc. (20 dc) (Image Two and Three)
Rnd 4: Working in the whole stitch as normal, Ch 1, sc in the same st and each st around. Join with a sl st in the first sc. (20 sc)
*I often times use a different color for round 5 as a band around the hat. If you are too, then fasten off after round 4 and join the next color with a sl st in the same spot. Then after round 5 do the same thing to switch back to your original color.
Rnd 5: Ch 2, dc in same st, dc in each st around. Join with a sl st in first dc. (20 dc)
Rnd 6: *Now we’re going to want the brim of the hat to have a sharp angle outward, so for Round 6 we will be working in the front (outside) loops only.
Ch 2, dc in the front loop of the same st, (dc in the front loop of the next st, 2dc in the front loop of the next st) around and then work 2dc extra in at the very end. Join with a sl st in the first dc. (33 dc not including first ch-2) (Image Four)
Rnd 7: (Border round, so change colors again if you wanted to.) Ch 1, sl st in the back (bottom) loop. (Ch 1, sl st in the back (bottom) loop of the next st) around. Join with a sl st in the same spot you started the brim. Fasten off and weave in all the ends. (Image Five)
Bottom of the Hat:
Repeat Rnds 1 and 2 and then fasten off after round 2 leaving a tail long enough to sew the circle to the bottom of the hat. (Image One)
Finishing:
Stuff the hat with cotton, or if you prefer it to be more stiff, I find that the flower arranging section at the store usually has all kinds of stiff, cylindrical shapes that you could saw down to size with a steak knife, haha! So just be creative! I find stuffing works just fine for me, though, and at the very end, I thread a bit of yarn from the bottom of the hat, up out the top of the hat, and then loop it back to the bottom and tie it so that it pulls the top of the hat into a better, more firm shape. Then I can stuff it more without worrying about it bowing up on top. (Image Six and Seven)
Then add flowers or a strip of fabric…whatever you can think of!
I like to slide the hat onto a no-slide headband so I don’t have to pin it in place in my hair. When I do that I don’t center the hat, but push it to the front a little so it’s sits forward on my head without having to push the headband up further. (Image Eight)
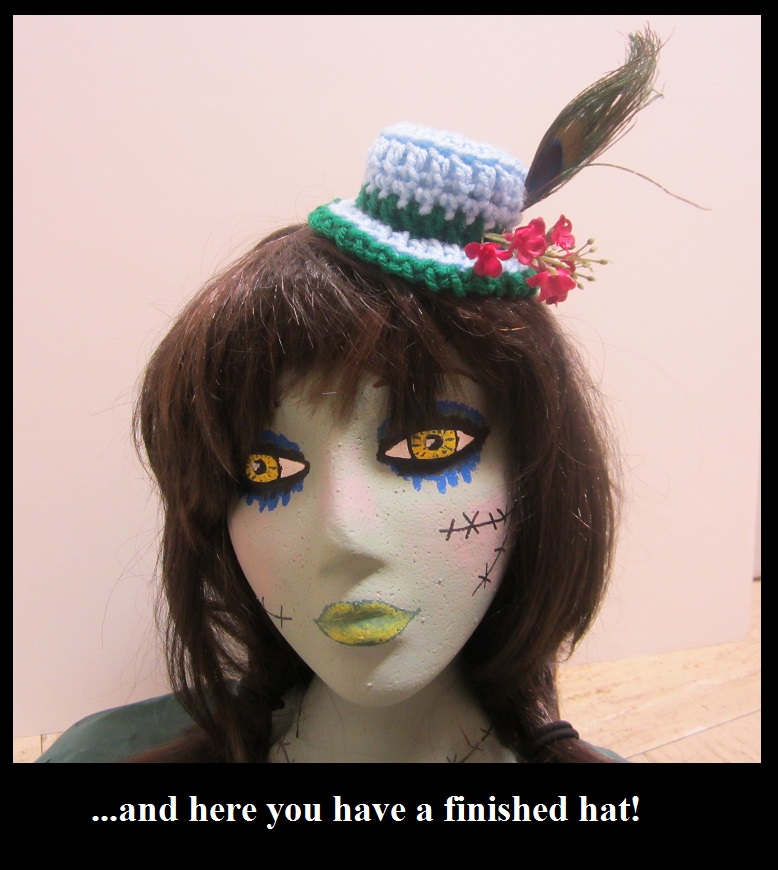
Now you have a lovely, finished Tiny Victorian Hat! (Image Nine and Ten)
Image One:
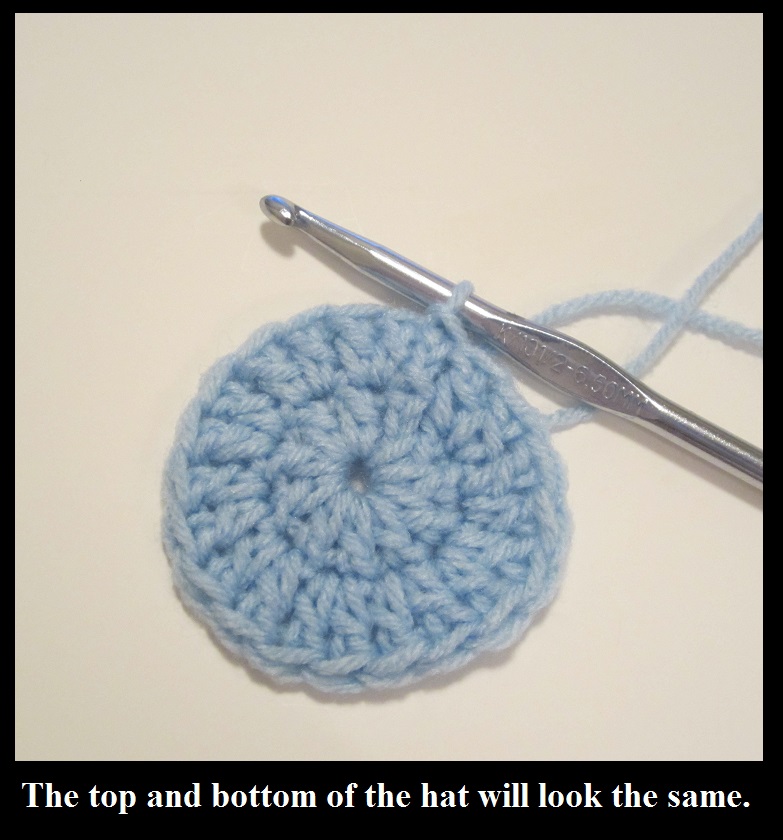
Image Two:
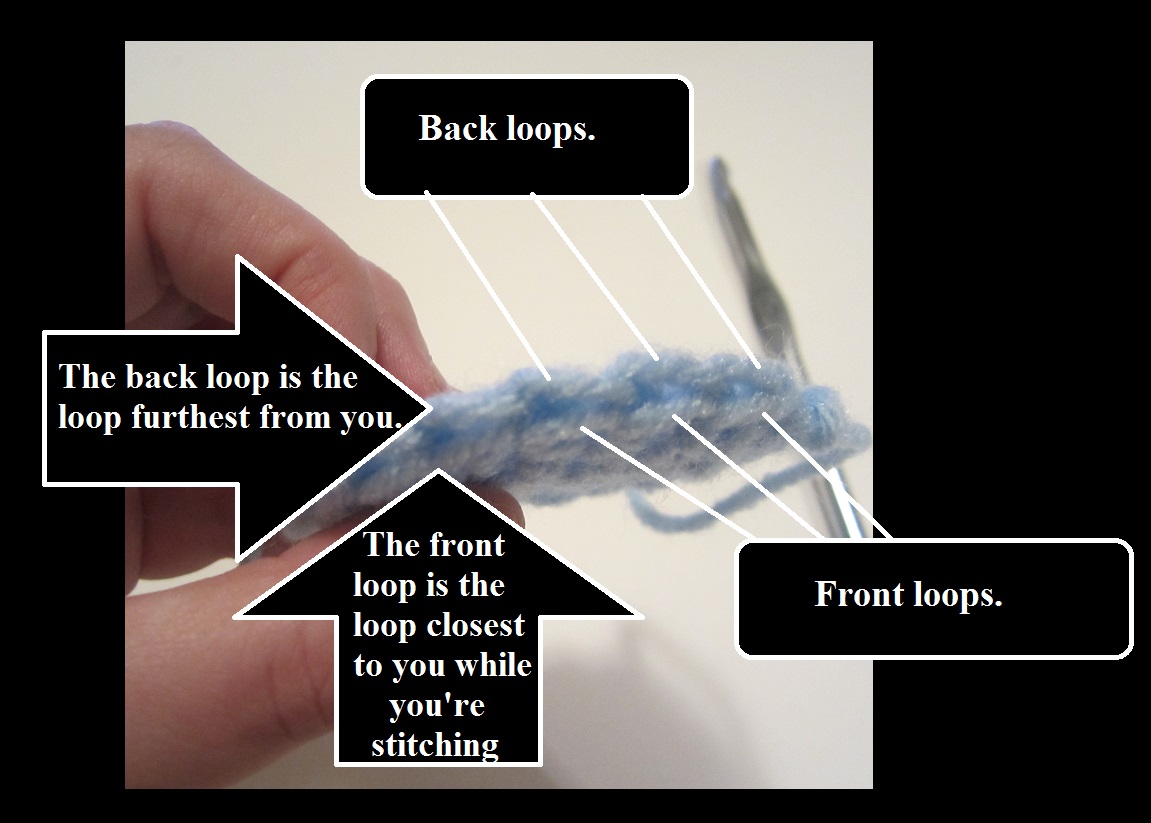
Image Three:
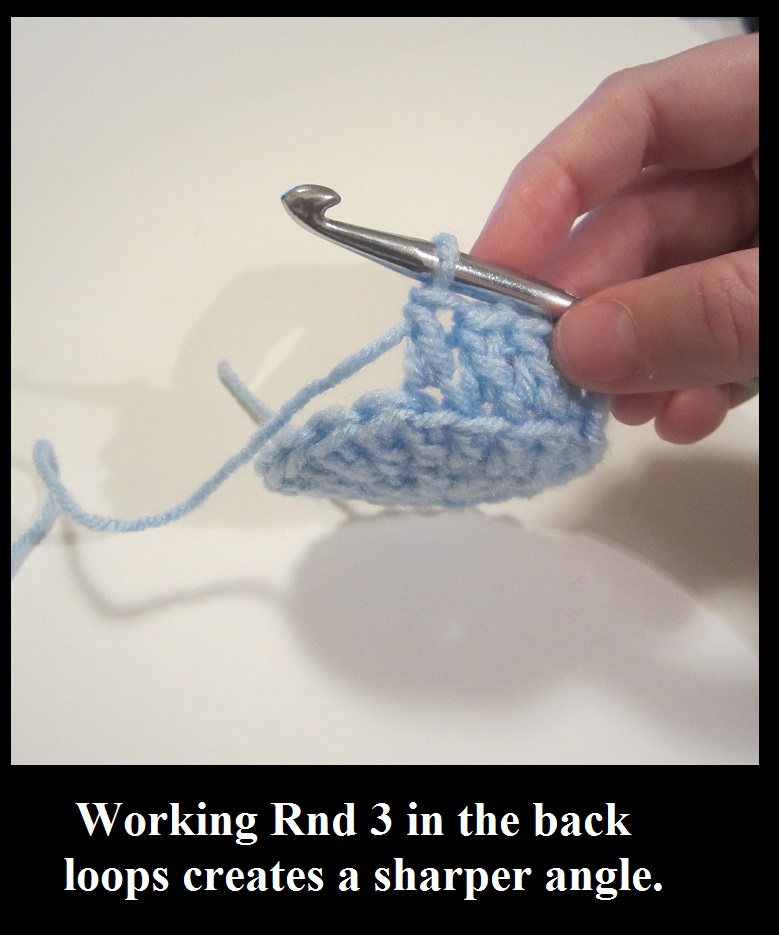
Image Four:
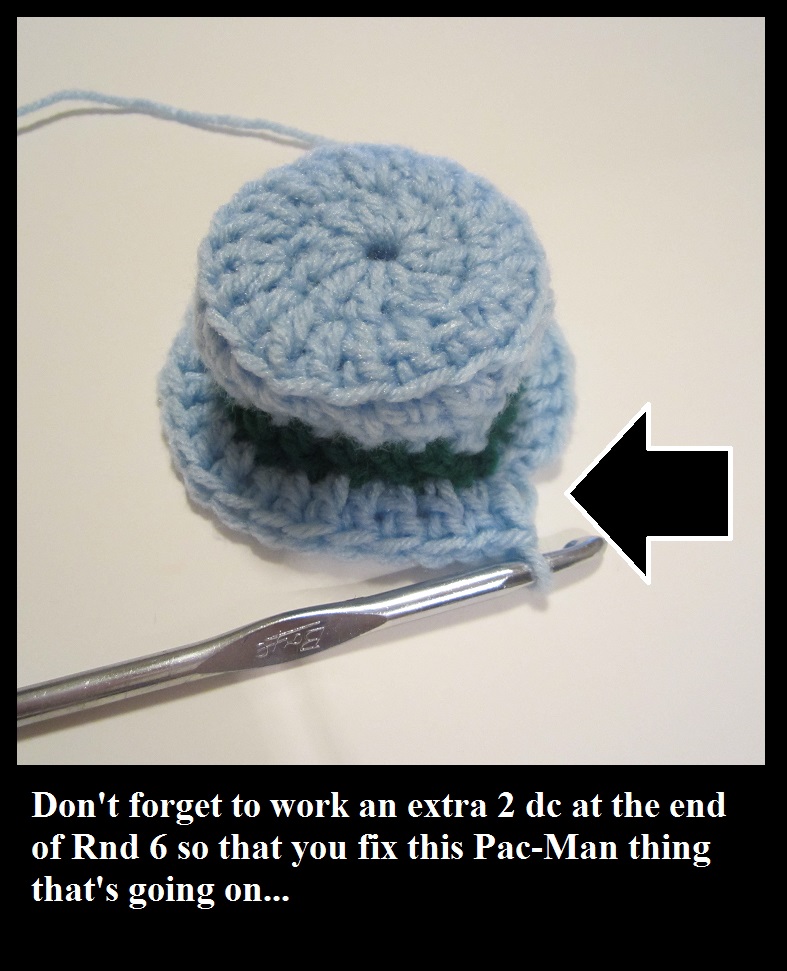
Image Five:

Image Six:
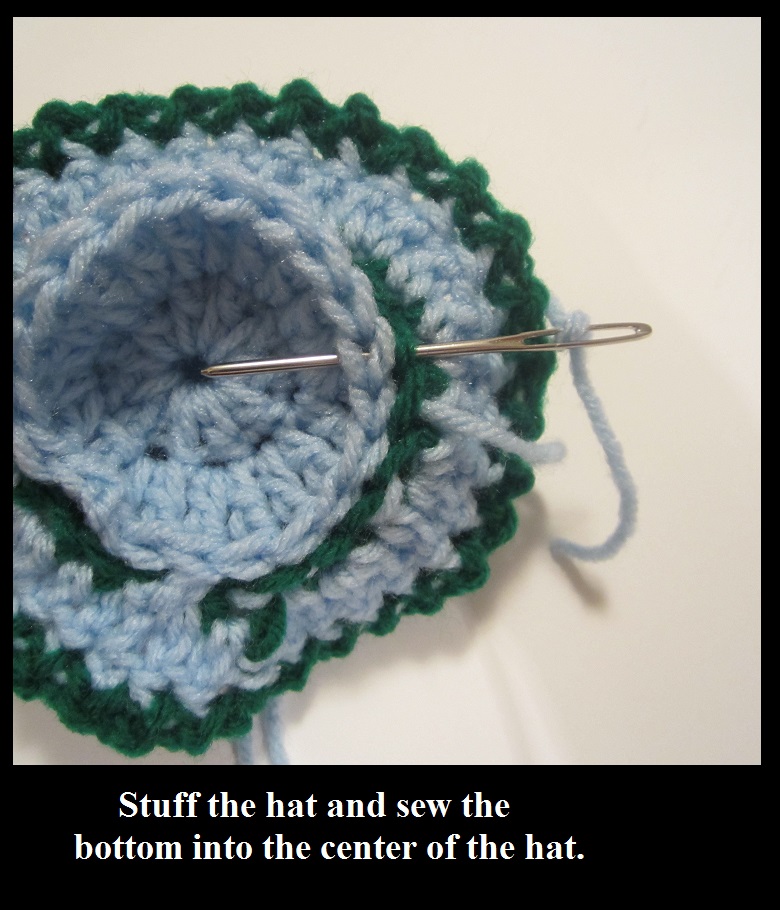
Image Seven:
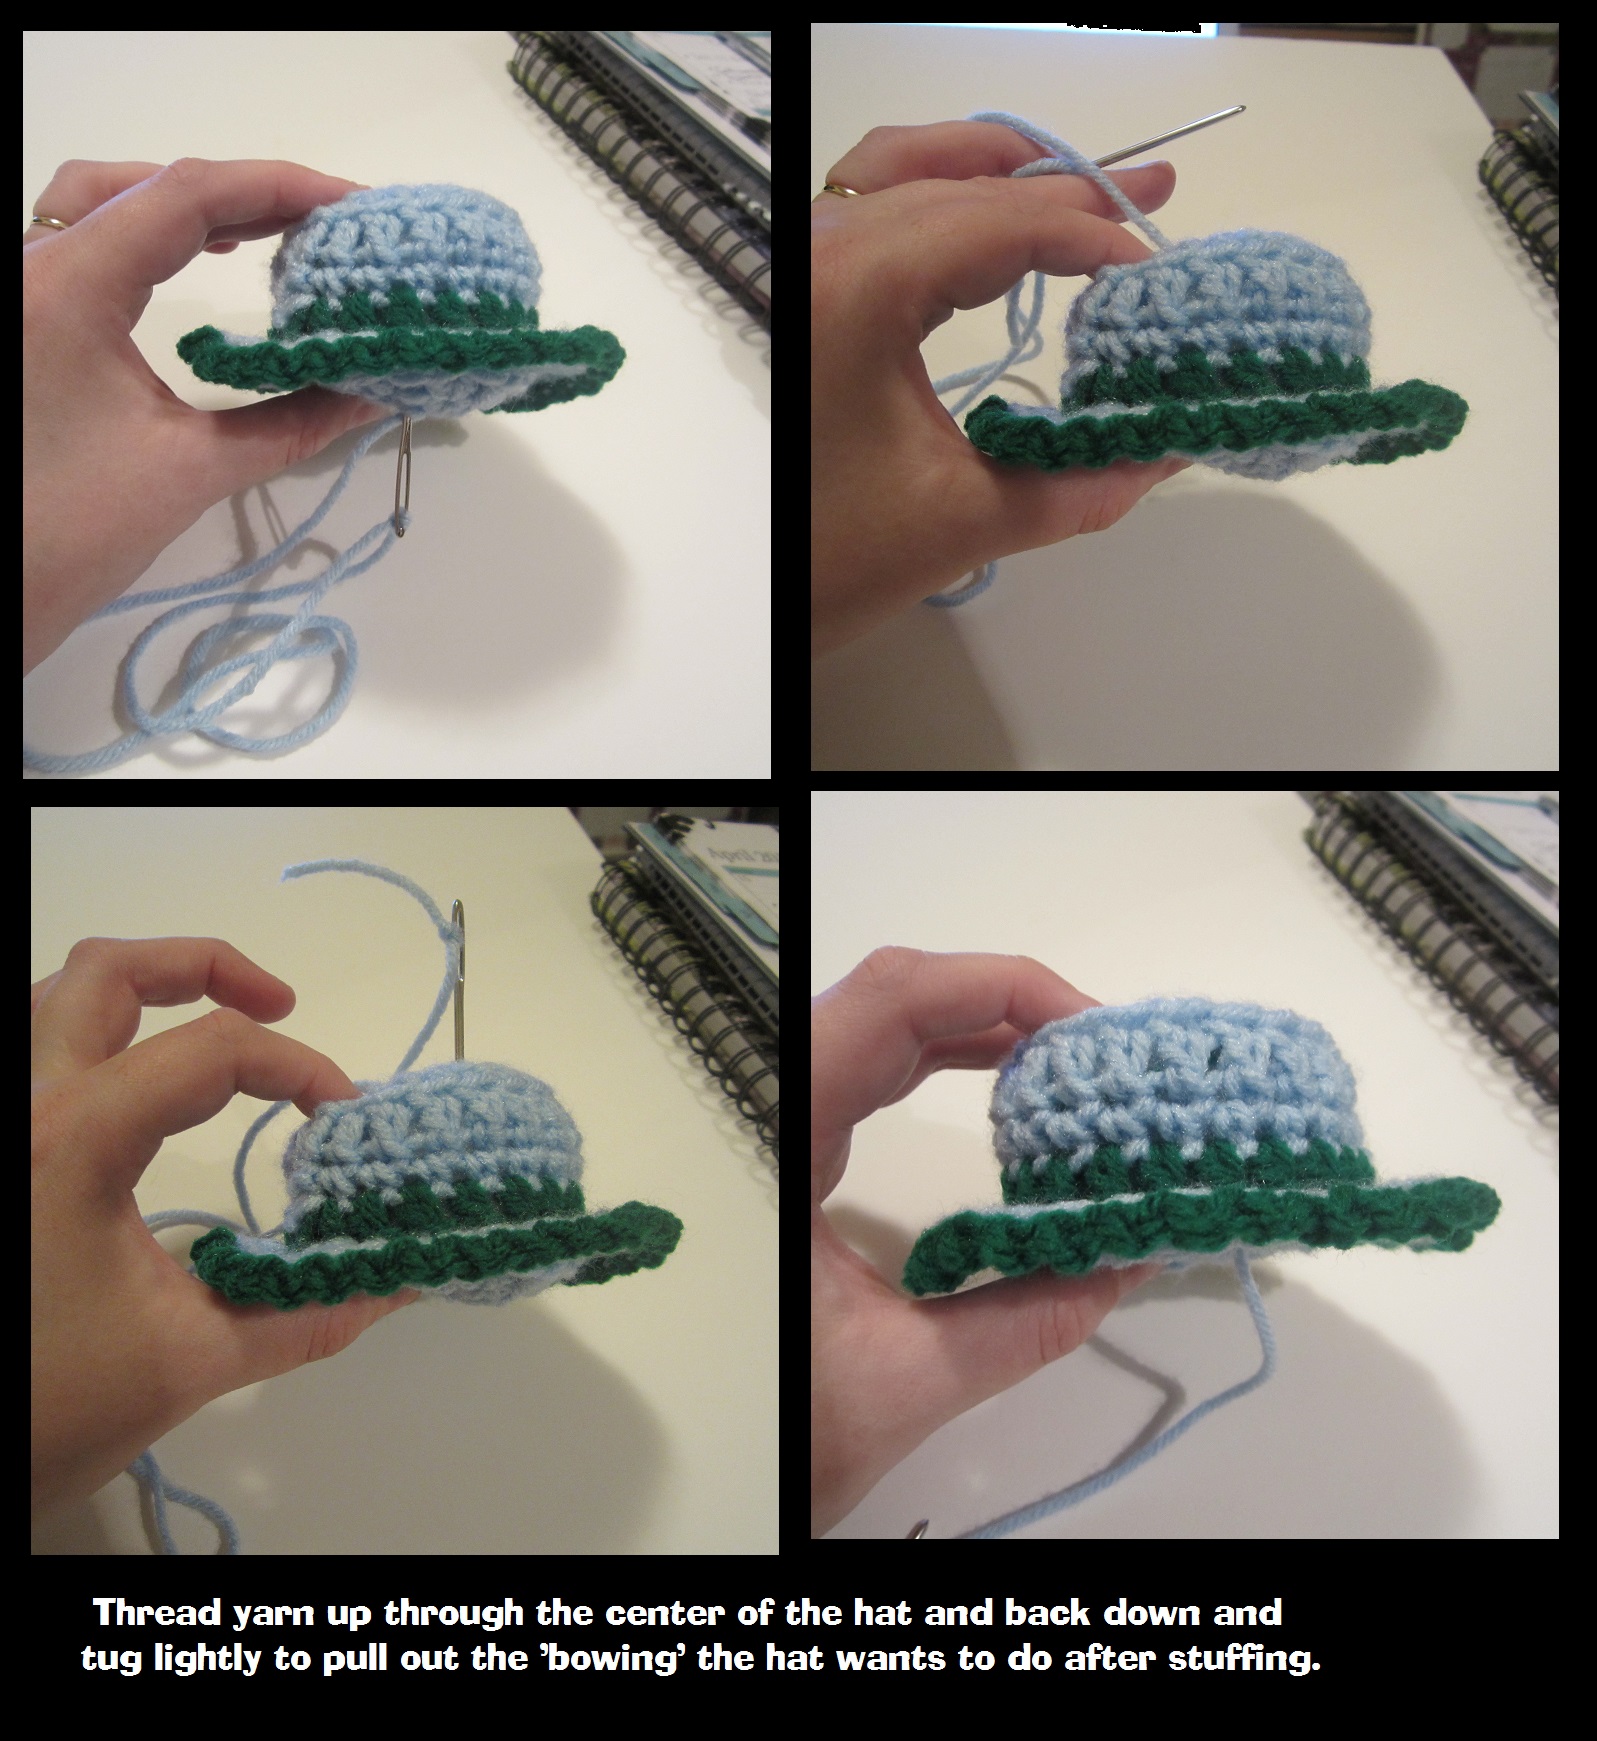
Image Eight:
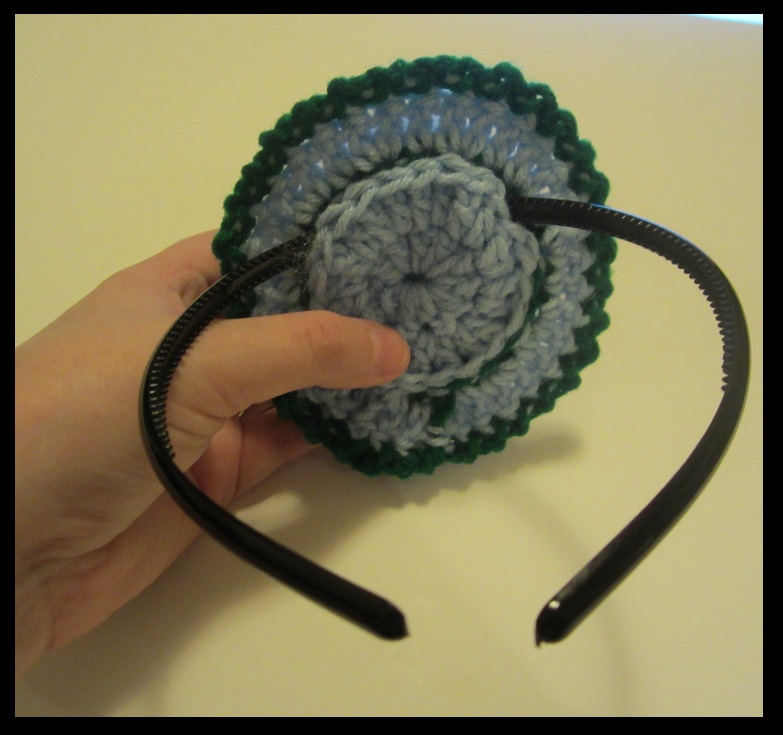
Image Nine:
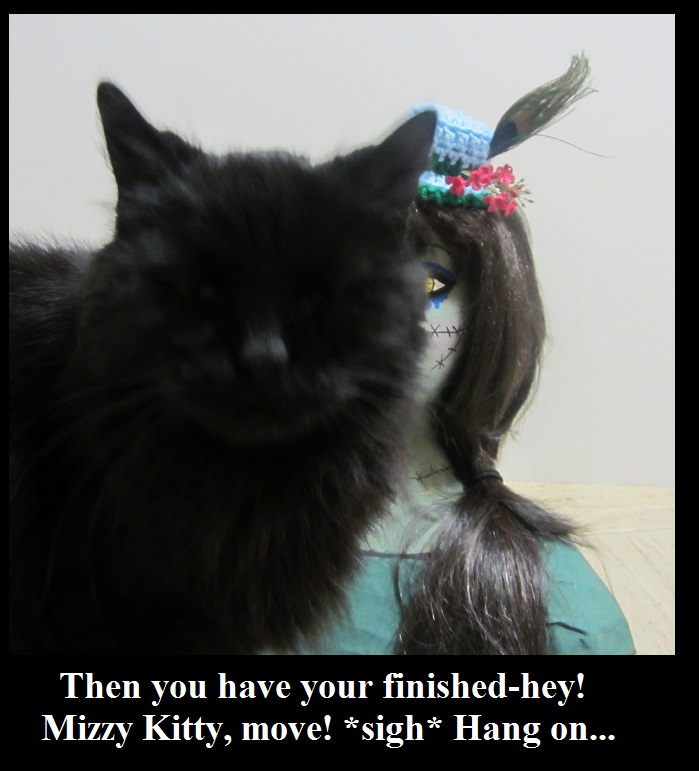
Image Ten:

Love this Hat! I even printed it so I could make it for my daughter but when I did it did not print any of the images. It could be on my side but it may be on yours.( just thought I would give you the heads up) Keep the ideas flowing they are great. Tried to sign up for webpage but the computer doesn’t like me today. (kept telling me the password was wrong, and it had just given it to me. Try again another day to much crafting to do)