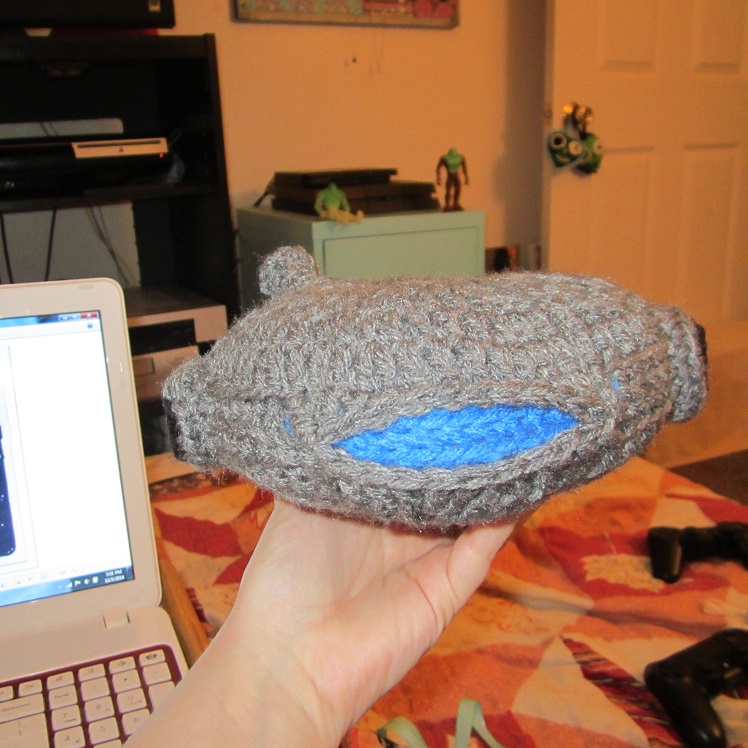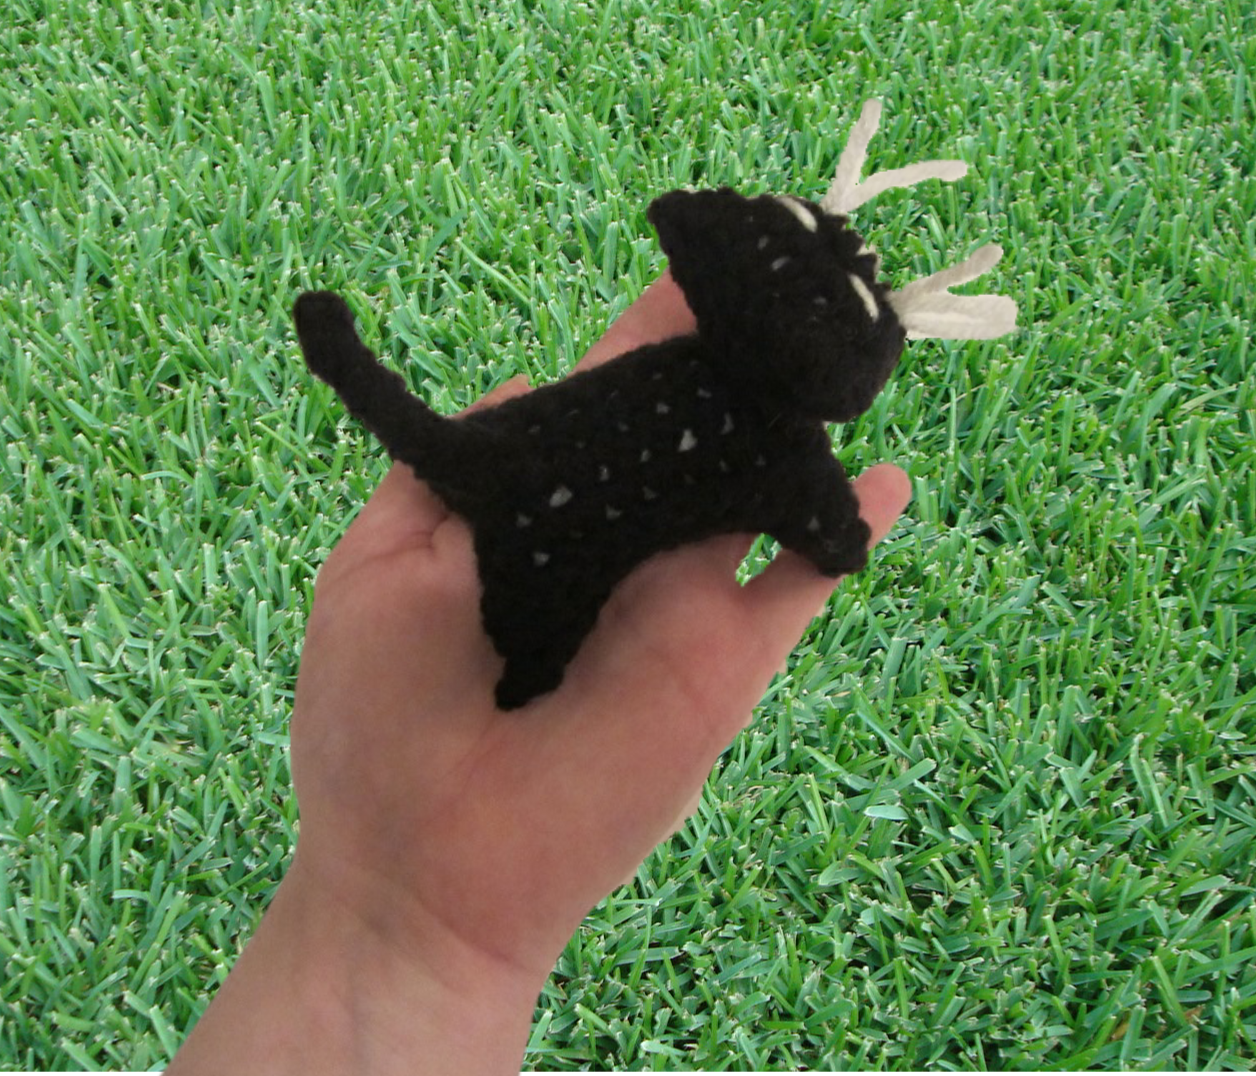

FREE Crochet Viking Hat Pattern
* I Use an H (5.00MM) hook for the horns and a K(6.50MM) hook for the crown of the hat, strip of the hat, and the lining of the horns, and I use Red Heart Super Saver Yarn.
* My hdc decrease: Yo, insert hook, yo, pull up loop, insert hook in next st, yo, pull up loop, yo, pull through all 4 loops.
*bobble : Five-double-crochet bobble. I have no idea how to describe how to do a bobble.
Horn:
Use H hook
Rnd 1: Ch 22. Jn with a sl st in first ch to form a ring. Ch 1, hdc in same ch and in each ch around. Jn with a sl st in first hdc. Fasten off. (22 hdc)
- Now flip the work so that you will be working in the beginning chain to start round two rather than working from the top of round one. The top of round one will now be the bottom of the horn. This will prevent the horn from looking curved at the bottom from the beginning chain because working both round 1 and 2 in the same beginning chain will kind of make the chain disappear into the work and give it a smoother shape.
Rnd 2: Jn with a sl st in any ch. Ch 1, hdc in the same space, hdc, hdc, hdc-decrease, hdc, hdc, sc, sc-decrease, sc, sc, sc, sc-decrease, hdc, hdc, hdc, hdc-decrease, hdc in last 2 ch. Jn with a sl st in first hdc. (18 st if you count the decreases as one stitch)
Rnd 3: Ch 1, hdc in same st. Hdc-dec, sc, sl st in the next 4 st. Sc, (hdc-dec, hdc) three times. Jn with a sl st in first hdc. (14 st if you count the decreases as one st and include the 4 sl stitches in the count.)
Rnd 4: Ch 1, hdc in same st, hdc in next 3 st, sc in next 6 st, hdc in last 4 st. Jn with sl st in first hdc. (14 st)
Rnd 5: Ch 1, hdc in same st and around. Jn with sl st in first hdc. (14 hdc.)
Rnd 6: Ch 1, sc in same st, sc-dec, sc, sc-dec, sl st, sl st, (sc, sc-dec) twice. Jn with sl st in first hdc. (10 stitches if you count the decreases as one st)
Rnd 7: Ch 1, sc in same st and around. (10 sc)
Rnd 8: Ch 1. Beginning in same st as join, sc-dec around. Jn with sl st in first sc. (5 sc)
Rnd 9: Ch 1, hdc in same st, sc-dec twice. Jn with sl st in first hdc. Close with a sl st or two and Fasten off. Weave or tuck in ends.
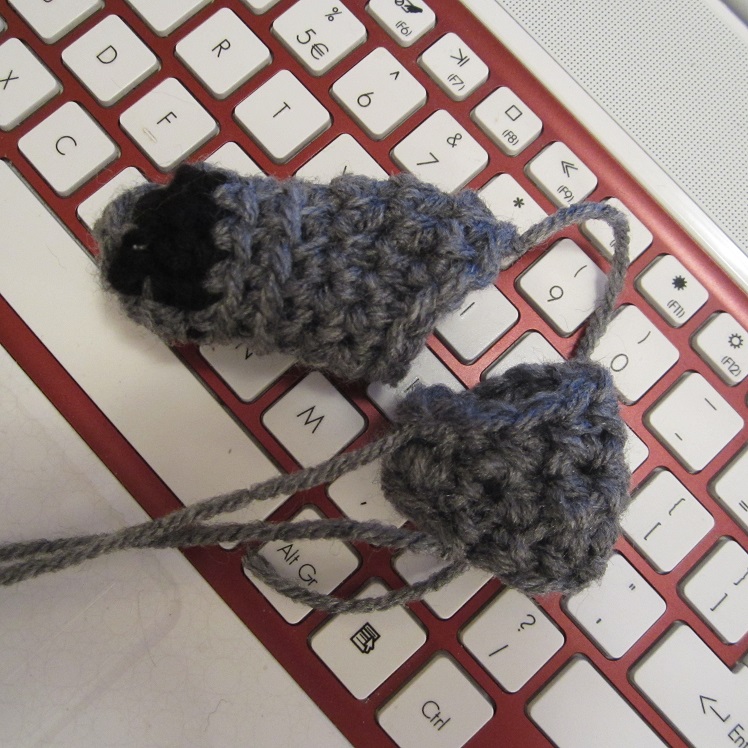
Bottom of the horn:
Use H hook. Make two.
Rnd 1: Ch 3, 10 dc in the 3rd ch from hook. Jn in first dc with a sl st.
Rnd 2: Ch 1, 2sc in the same st as join, 2sc in each st around. Jn in first sc with a sl st.
Fasten off leaving tail long enough to sew bottom to horn and then to sew the horn to a hat if you’re going to do that. Stuff horn as you go.

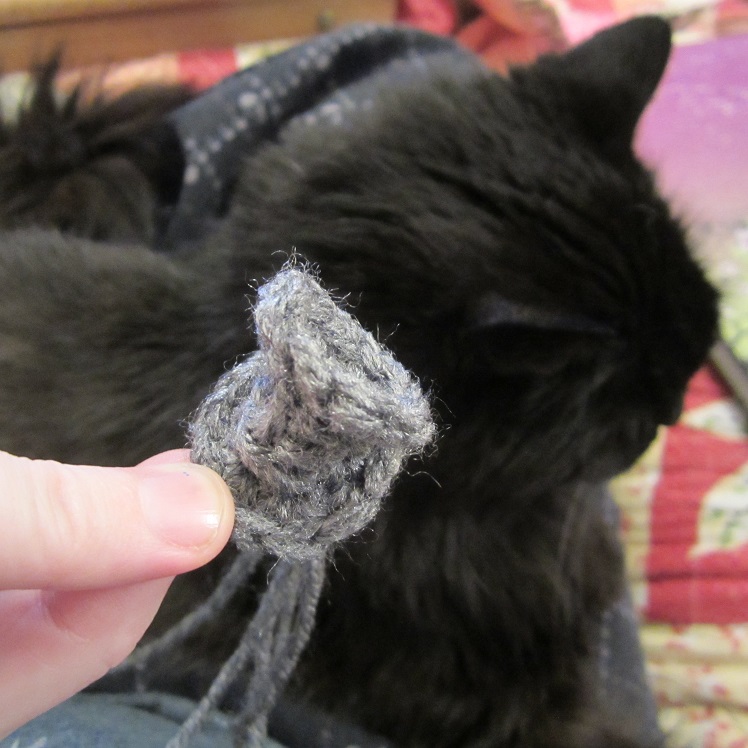
Metal Strip to go around bottom of horn:
Use K hook. Make two.
Rnd 1: Ch 22, join. Ch 2, (counts as first dc), dc in next 4 ch, bobble in next ch, (dc in next 5 ch, bobble in next ch) twice, dc in last 4 ch. Jn in top of first ch-2.
Rnd 2: Ch 1. Sc in same st and around. Jn. Fasten off.
Rnd 3: Flip work to work in original ch. Jn with a sl st in any ch. Ch 1, sc around. Jn in first sc. Fasten off leaving tail long enough to sew strip around bottom of horn.
Bottom Strip of Hat:
Use K hook
You’ll make this strip that will look kind of like a headband and then sew it onto the bottom of the crown of the hat.
Rnd 1: With gray, Ch 70, join with sl st in first ch without twisting chain. Ch 2, dc in next 4 chains, bobble stitch in next ch, (dc in next 5 ch, bobble st in next ch) around. Dc in last 4 chains. Jn in top of first dc.
Rnd 2 and 3rd rnd: These two rounds mirror each other on each side of the strip. For Round two, Ch 1, sc in same st and around. Jn with sl st in first sc. Fasten off. For Round three, Flip strip and join gray with a sl st in the original chain. Ch 1, sc in same st and around. Fasten off.
4th round of strip: With black, you will join in the back loop on any stitch on either side because the 4th and 5th rounds will mirror each other. Working in the back loops only around, Ch 2, dc in the next st and around. Jn with sl st in first dc.
5th rnd: You’ll want to flip the strip again repeat the 4th rnd. Then fasten off with a tail long enough to sew this strip to the top of the hat.
Crown of the hat:
Use K hook
Rnd 1: Ch 4, join to form a ring. Ch 2, (counts as dc here and throughout pattern), 9dc in ring. Jn in first dc to close round here and at the end of each rnd. (10 dc)
Rnd 2: Ch 2, dc in same st, 2 dc in each st around. Join. (20 dc)
Rnd 3: Ch 2, 2 dc in next st, (dc, 2dc) around. Join. (30 dc)
Rnd 4: Ch 2, Dc in next st, 2 dc, (dc, dc, 2dc) around. Join. (40 dc)
Rnd 5: Ch 2, dc in next 2 sts, 2 dc, (dc, dc, dc, 2dc) around. Join. (50 dc)
Rnd 6: Ch 2, dc in next 3 sts, 2 dc, (dc, dc, dc, dc, 2dc) around. Join. (60 dc)
Rnds 7-9: Ch 2, dc in next st and around. Jn.
Rnd 10: Ch 2, dc in next 4 sts, 2dc, (dc, dc, dc, dc, dc, 2dc) around. Join. (70 dc)
Rnd 11: Optional round if you want your hat longer. Ch 2, dc in next st and around. Fasten off.
Sew crown to the metal strip to complete hat. Sew horns on the sides. When sewing the horns to the sides of the hat, you might want to position them slightly forward toward the face rather than the actual sides of the hat because they will look better. If you put the horns on the exact sides they look kind of funny, so I just move them a few inches forward before attaching them.