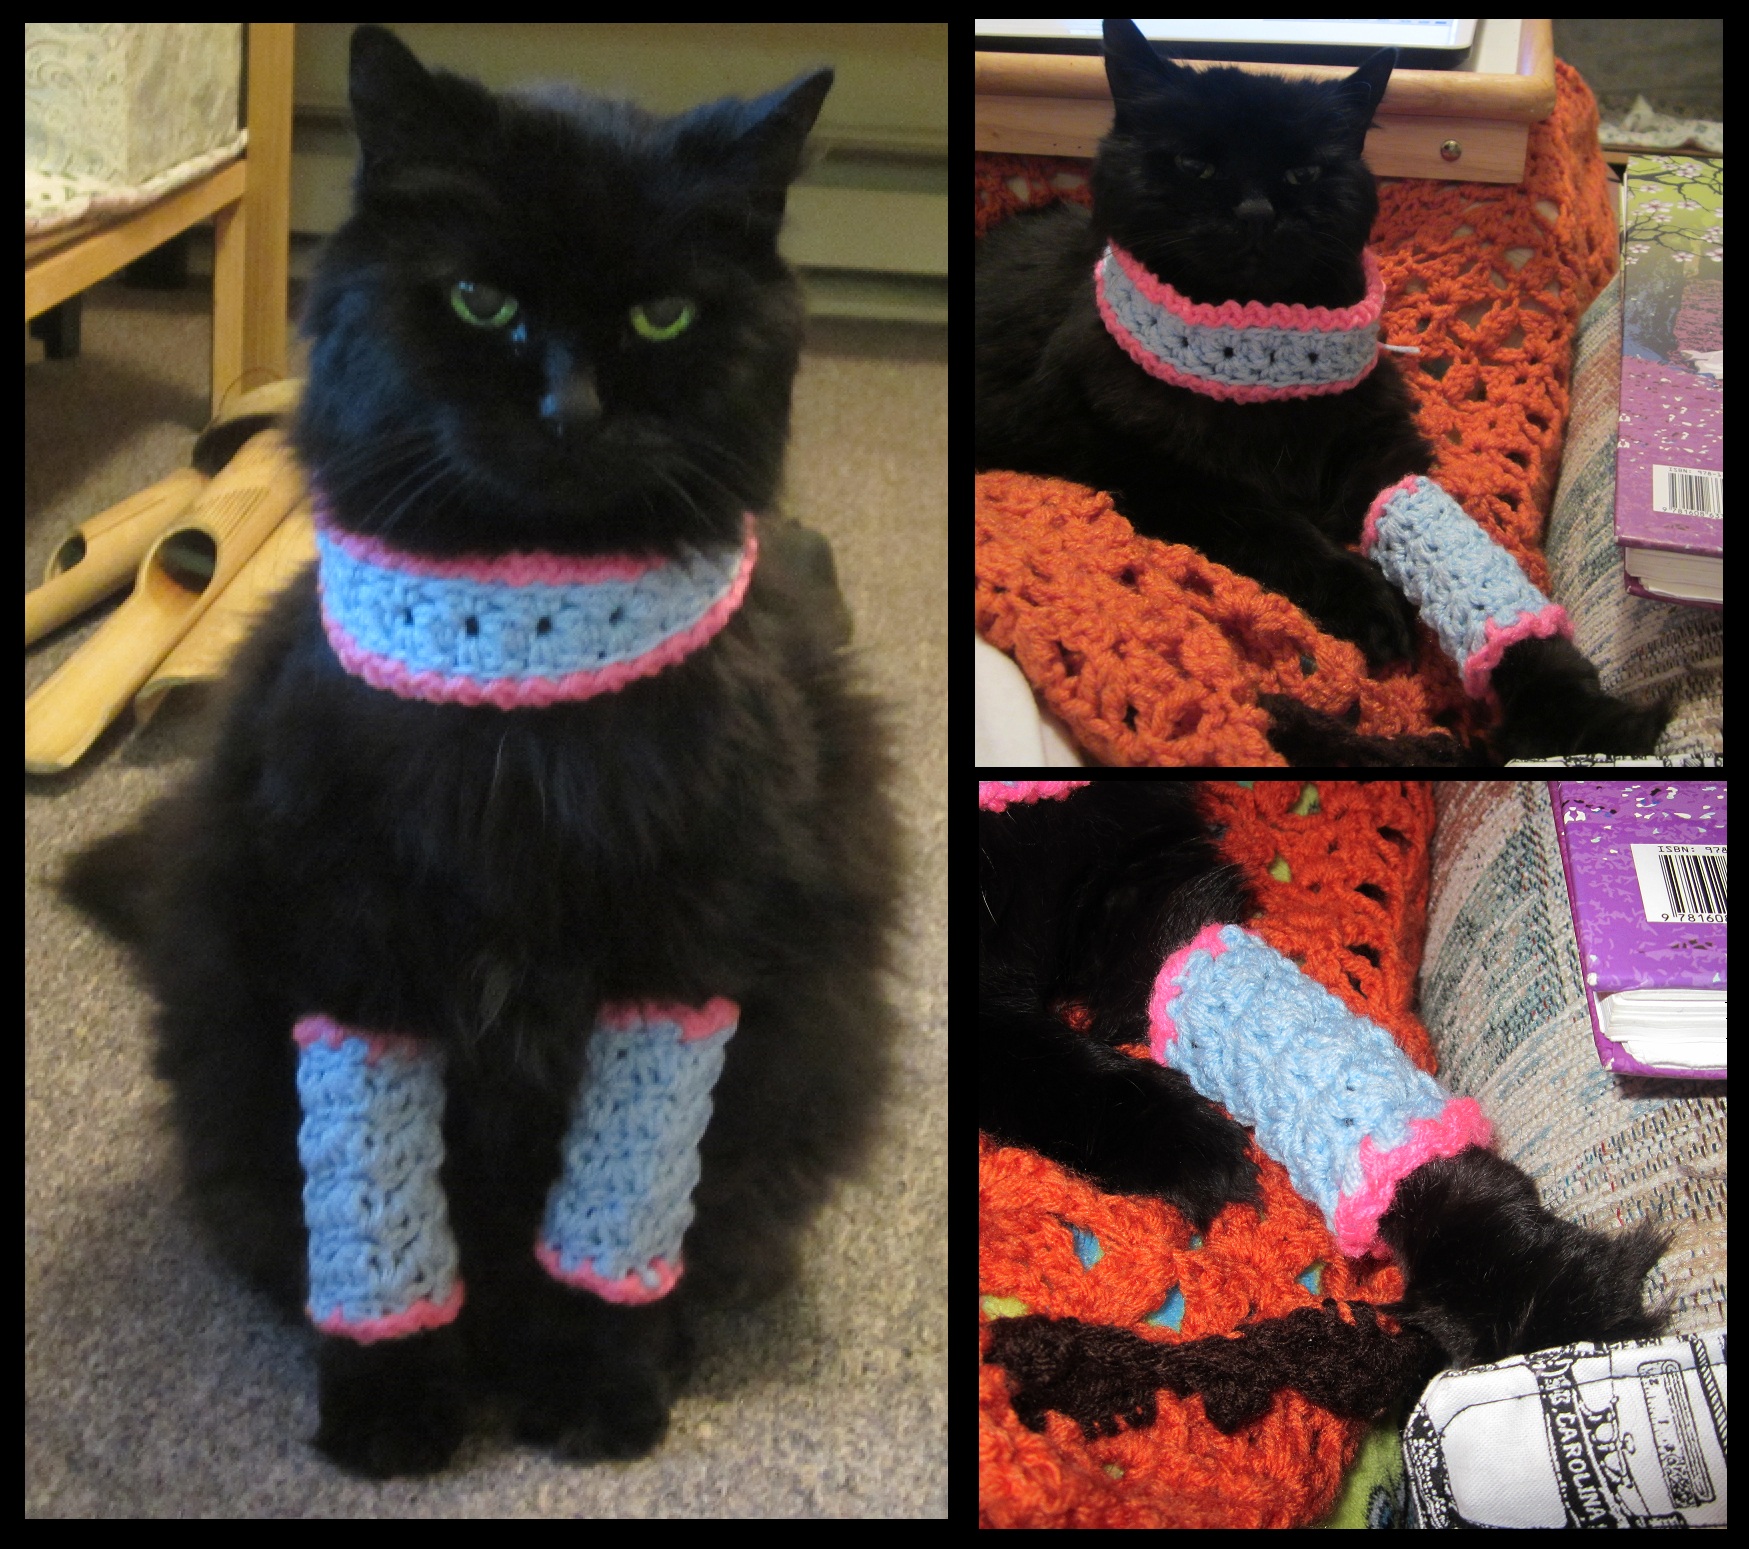
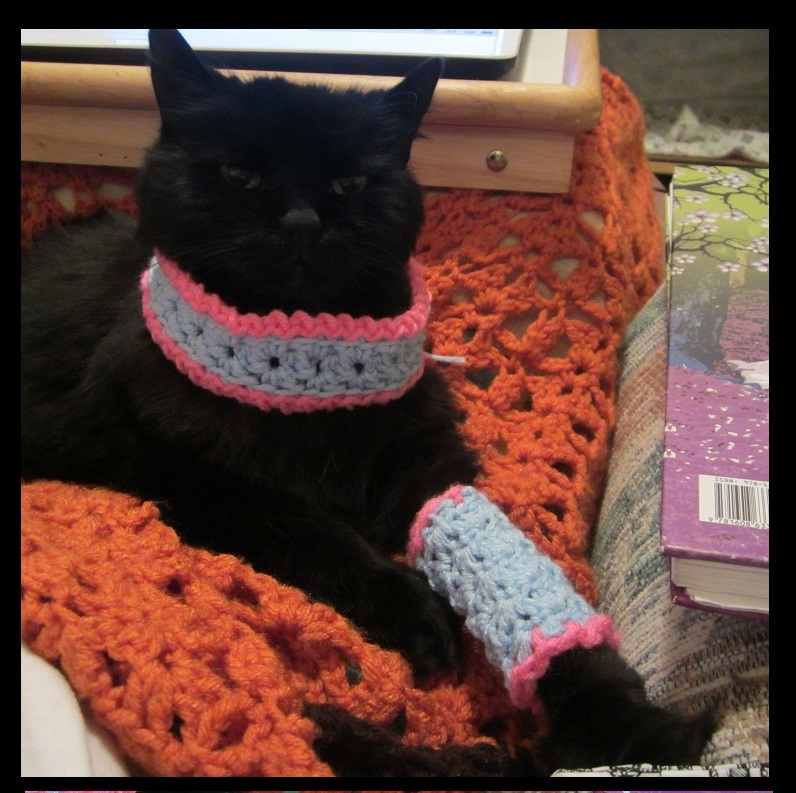
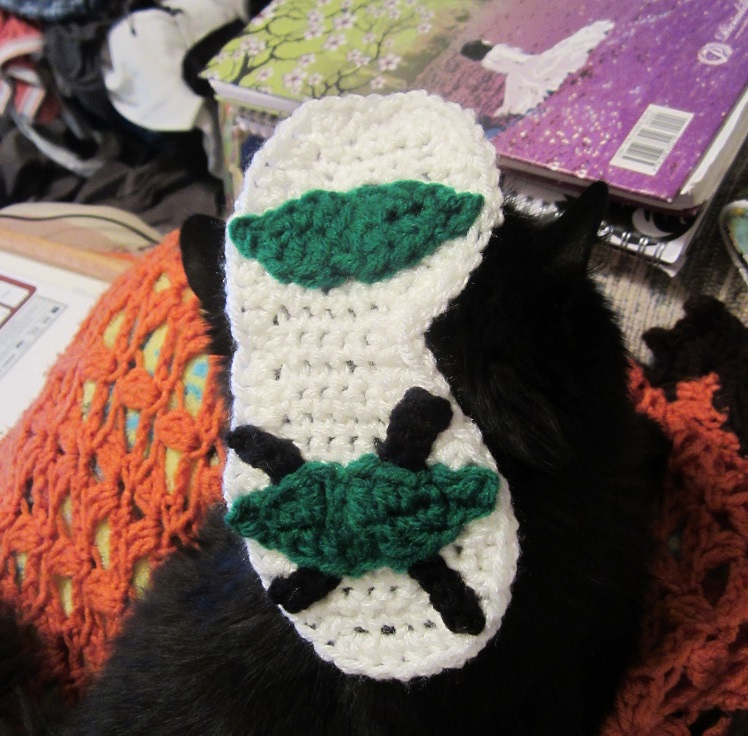
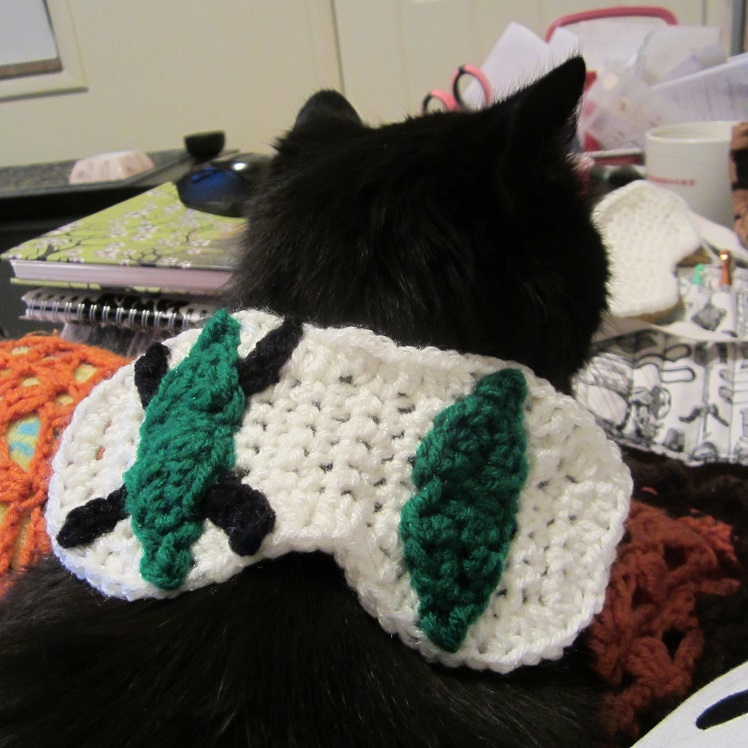
Fox Scoodie Pattern

Fox Scoodie Pattern

I'm wearin' a mask 'cause I'm totally incognito, hehehe!

I’m wearin’ a mask ’cause I’m totally incognito, hehehe!

* I used Red Heart Super Saver Yarn and a size K hook.
Rw 1) With orange: Ch 70, dc in 3rd ch from hook and back down chain.

Rw 2-5) Turn, Ch 2, dc across.

*Note* Your work up until this point should be neat and even looking like a really long rectangle. (Meaning that you should make sure your work isn’t accidentally growing or shrinking along the way from adding or forgetting stitches at the ends and beginnings of the rows where it can get tricky deciding where to put the stitch.) If it is, simply add a stitch or decrease a time or two and try to even it up without having to pull it all apart. It should be pretty easy to work with in this way. The work should be even unless the row is stating that you are increasing or decreasing at the time.

Rw 6-9) Decrease rows. Turn, (dc in the first 4 st, decrease once), across. At the end of the row simply dc in the last couple of stitches you have left. Turn and repeat for rows 7, 8, and 9. This should shrink the project a little bit.

Rw 10-11) Turn, dc across.

At the end of Rw 11, fasten off leaving a tail long enough to fold the row in on itself and sew it together. I usually do this with the right sides together so that I can sew at an angle near the top of the hat to hide the pointed-look that would otherwise be at the top/back of the hat.

sew up hood

*Note* The hood will probably not be long enough on either side right now; not long enough to go over your shelter your face or to cover your neck. That’s okay.

Now rejoin your yarn with a sl st on the front of the hood so that you can work back and forth in the opposite direction from where you were going to begin with until the hood is as long as you desire. I do it this way so that the back of the hood is finished first and I can keep putting it on my head to more accurately judge if the hood is the length I want rather than guessing if it will be long enough after I sew the back together. We’ll work on the neck and then the scarf part after you are finished here.

turn right side out neck rows

Begin Neck:

Rw 1) At the end of the last row of your hood, pivot the hood so that you’ll be working back and forth across the bottom/neck area of the hood. You’ll be treating each dc row as if you’re putting 2 dc in each row. So ch 2, dc, dc, decrease, (dc, dc, dc, dec) across.

Rw 2) Ch 2, turn, dc, dc, decrease, (dc, dc, dc, dec) across.

Rw 3-4) Ch 2, turn, dc across.
Begin Scarf:

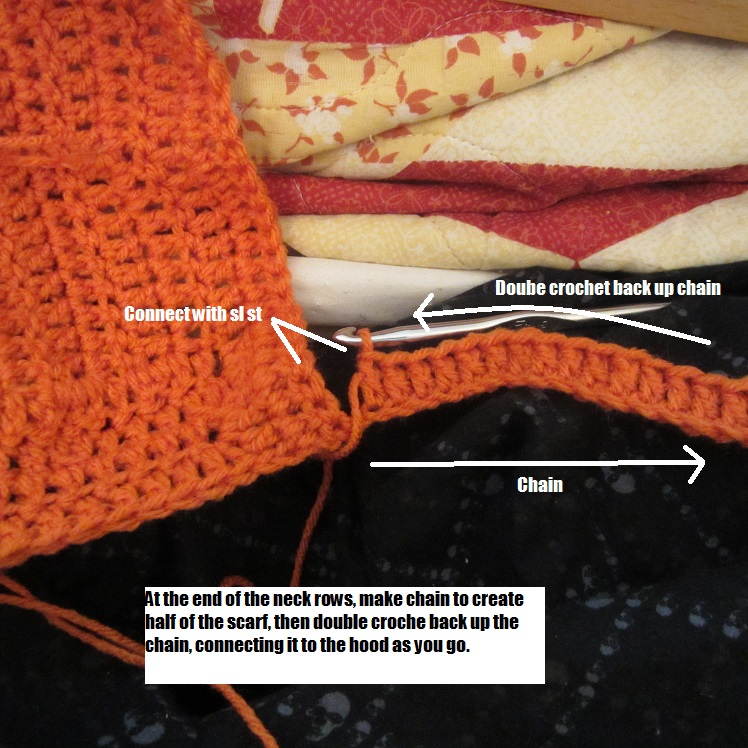
At the end of Rw 4, ch 63. Dc in 3rd ch from hook and back up the chain until you reach the edge of the hook. Join the top of your row with a sl st to the hood. Sl st a time or two along the hood until you are even with creating a second dc row back down the scarf. Then dc back down the scarf. Once you’re back to the end, ch 2, turn and dc back up the chain to the hood one last time. Sl st the top of your row to the hood. Fasten off and weave in ends. You should have one side of your scarf that is three dc rows tall.

create scarf chain

For the second side of the scarf, join yarn with a sl st oposite the side of the hood where you made the first side of the scarf. Ch 63 and repeat the motions above so that you have a mirroring side that is 3 dc rows tall.
Border:

If you’d like a border, simply join your yarn of a desired color with a sl st anywhere around the hood, ch 1, sc in same spot, and sc around the hood. When you come to a corner add an extra sc or two in the corner stitch so that the border doesn’t cause the shape to warp.
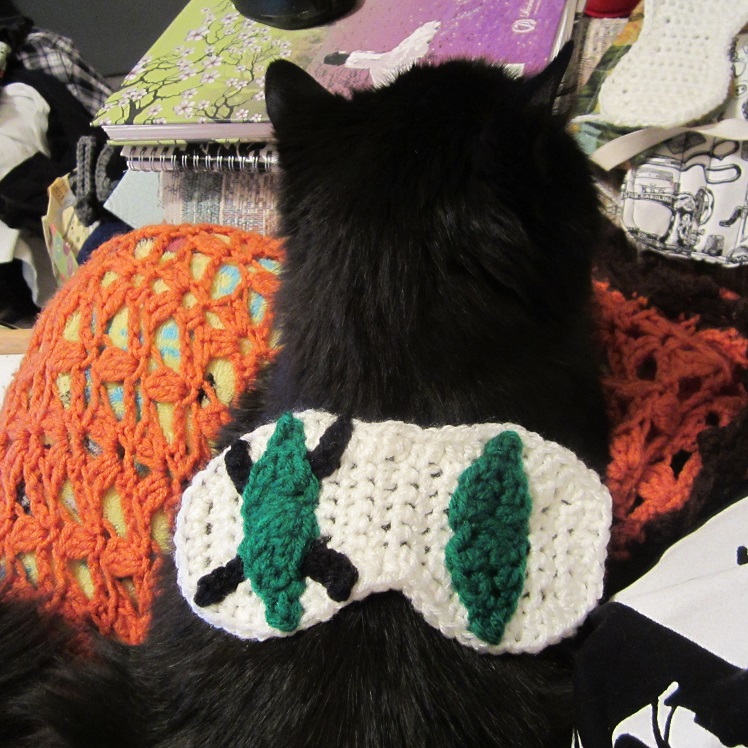


Fox Ears:

(Make two.)

Back of ear:

Row 1: With orange, ch 5, sc in 2nd ch from hook, dc, sc, sl st in the last ch. Turn. (4 st.)

Row 2: Sc in 1st 3 st, 2 sc in the last st. Turn. (5 sc.)

Row 3: Sc in 1st 4 st, 2 sc in the last st. Turn. (6 sc.)

Row 4: Sc in 1st 5 st, 2 sc in the last st. Turn. (7 sc.)

Row 5: Sc in 1st 6 st, 2 sc in the last st. Turn. (8 sc.)

Row 6: Sc in 1st 7 st, 2 sc in the last st. Turn. (9 sc.)

Row 7: Sc in 1st 8 st, 2 sc in the last st. Turn. (10 sc.)

Row 8: Sc in the 1st 9 st, 2 sc in the last st. Turn. (11 sc.)

Row 9: Sc in the 1st 10 st, 2 sc in the last st. Turn. (12 sc.)

Row 10: Sc in the 1st 11 st, 2 sc in the last st. Turn (13 sc.)

Row 11: Sc in the 1st 12 st, 2 sc in the last st. (14 sc.) Fasten off and weave in ends.

Front of ear:

Row 1: With white, ch 5, sc in 2nd ch from hook, dc, sc, sl st in the last ch. Turn. (4 st.)

Row 2: Sc in 1st 3 st, 2 sc in the last st. Turn. (5 sc.)

Row 3: Sc in 1st 4 st, 2 sc in the last st. Turn. (6 sc.)

Row 4: Sc in 1st 5 st, 2 sc in the last st. Turn. (7 sc.)

Row 5: Sc in 1st 6 st, 2 sc in the last st. Turn. (8 sc.)

Row 6: Sc in 1st 7 st, 2 sc in the last st. Turn. (9 sc.)

Row 7: Sc in 1st 8 st, 2 sc in the last st. Turn. (10 sc.)

Row 8: Sc in the 1st 9 st, 2 sc in the last st. (11 sc.) Fasten off and weave in ends.

Sew front of ear to back of ear using black yarn. (I like using the furry/fluffy type of yarn for this.)

Bottom of ear:

Rnd 1: Ch 8. Sc in 2nd ch from hook and across stopping before last ch. 3 sc in last chain and pivot chain so that you are now working in opposite direction back down the chain. Sc in next ch and down ch stopping before last ch. 2 sc in last ch, and join with a sl st to the very first sc. You should now have an oval shape.

Rnd 2: Ch 1, sc in same st and around the oval, and add one extra sc at each far end of the oval to prevent the shape from bowing. So in total you will have two extra sc in the entire round of sc. Jn with a sl st in the first sc. Fasten off leaving tail long enough to sew bottom of hear to the top of the ear.

Sew the bottom to the top of the ear, stuffing as you go. Then sew the ears to the hood.

IMG_2983

There you have it; an adorable fox scoodie! I’m going to have to get on the ball and load up the fingerless gloves pattern sometime!

Posted in Uncategorized | Leave a comment

The Birth of Craftyghoul.com Short Video

Howdy ghoulz!!!

I have put together a little video on how Craftghoul.com got started. It stars me, (Admin. Starling), my hubby Valtiel from Valtiel’s Vault, Mizzy the Kitty and Turtle. Here’s the link to where I shared the video on the Craftyghoul Facebook page:

https://www.facebook.com/photo.php?v=428311530608033&set=vb.330128890426298&type=2&theater


And here’s a family photo of all the above mentioned, just for kicks and giggles:

Wall family photo


I really appreciate all my fanz and followers! Thank you, ghoulz!!!

Luv,

Admin. Starling


Posted in Uncategorized | Leave a comment

Stay Away From My Yarn Stash Short Video

This is my first time playin’ around with video-stuff, so I think I did pretty well!  I found some royalty-free music online, and I simply edited a meme and doodles of my crafty little self back and forth with captions. Now I have a nice yarn-creeper video just for us!

The things I do to entertain myself and my ghoulz!

You can watch the video on the Craftyghoul Facebook page here:

Stay Away From My Yarn Stash Short Video


Posted in Uncategorized | 1 Comment

Death Metal Ode to Crochet, written by me!

Death Metal Ode to Crochet
Written by: Starling

I’m born to crochet
Bring death like mummifiers!
As I’m stitching you
Are starting to perspire!

Thoughts getting stringy
I’m unwinding my Death Yarn!
Now you are screaming
No more can you use your arms!

Chorus is sung in a high opera voice with slow pretty music:
~
Crochet all night long
Twisting this hook
I weave dark beauty
like stories in books!
~

Ancient craft demands
A sacrifice of cotton!
                                                           Amigurumis (pronounced: ah-mee-goo-roo-mee)
Their revenge shall be rotten!

Now I must relax
Holy Text instructs ‘chain loose’
With comforting thoughts
Of gifting you this soft noose!

~
Repeat Chorus
~

Lambs cool in summer
Romping without heavy coats!
You don their shed locks
They don’t care; they think you’re gross!

Behold decrease stitch!
The rounds are getting tighter!
Welcome to Craft Hell!
Yarn knots make tangled fire!

~
Repeat Chorus
~

Posted in Uncategorized | Leave a comment

Comic Book Crochet Hook Case!

Hey ghoulz! Get ready to be envious!

I made a new Marvel Comic Book themed crochet hook case by using my Free Crochet Hook Case Sewing Pattern. If you want to make your own then just go to the link I just gave and give it a shot! It’s a pretty good little tutorial, I think! Well, of course I think so since I’m the one that made it, hehehe.  *snort*

These hook cases are designed with little places for yarn needles and a wider pocket area for a small (kid’s size) pair of scissors. Those are usually the only things I need along with my hooks and a pattern! I roll this up and toss it into my portable project bag along with the ongoing project and yarn and then drag it along everywhere I go! Then when I get home I never even take the stuff out. I leave it all in the project bag and this hook case so I can work on it on the couch or have it ready at the drop of a hat next time I leave!

My favorite characters, as you can probably tell by who’s centered and visible most often, are Thor and Spiderman!!! Yay!!!! Geeky luv!!!

inside comic book hook case

Outside comic book hook case

rolled comic book hook case

Posted in Uncategorized | Tagged , , , , , , , , , , , , | Leave a comment

Crochet Pinhead Birthday Present


Pinhead Birthday Present for my Husband!

PMfavorite

Check him out, ghoulz!!!!!!

For Valtiel’s birthday, I had to come up with something really awesome, so I used the body and head pattern from the book Creepy Cute Crochet, by  Christen Haden, and then I added pins and other little extra metal pieces I had leftover from other projects to make Pinhead!!

He’s really happy with his birthday present, and now Pinhead is hanging out on my piano in our living room next to my collectible Loki action figure!! They will create both mischief and pain that will border on pleasure!! Muahahahahahaha!!!

PMfavcloseup


PMsideview

PMpicturefrombackalittle

Posted in Uncategorized | Tagged , , , , , , , , , , | Leave a comment

Crochet Web Spam Day, August 3rd

wedcrochetspamday

August 3rd will be Valtiel’s birthday, and to celebrate we’re going to have a crochet web spam day all day so all my ghoulz can be in on the party!

I’ve even made a new header and display picture for the Facebook page:

Craftyghoulspiderwebsign

craftyghoulspiderwebdisplay

That’s me being Spiderman and crocheting a big Craftyghoul sign for all to see! So as you can see, I’m having a great time with it! I think Spiderman is the perfect superhero to understand a crochet obsession, ya know, ghoulz??

Oh! And I doctored up Valtiel’s picture to look like Carnage, (his favorite Spiderman super villain.)

jacobfinalcarnage


Oh, yeah! And one last thing. I made up a song.

*clears throat*

*singing*

Spider hook, spider hook!
Wearin’ out the pattern book!
Got some web; well it’s yarn…
Now it’s tangled ’round my arm…
Spider hook!!!!!!!


Whatcha think? No? Okay…just…just tryin’ it out is all. *snort, snort, snort*

Posted in Uncategorized | Tagged , , , , , , , , , | Leave a comment

Marie Antoinette Kitty Cat Crochet Leg Warmers and Cowl Pattern


Marie Pictures Kitty cowl and leggins

Marie Antoinette Kitty Cowl and Leg Warmers

*I use a size K (6.50 MM) hook and Red Hear Super Saver Yarn.

*Please remember not to leave your pet unattended wearing things that might get caught on something and cause them to choke, or get stuck and be bored until you rescue them.

Rnd 1: Ch 40, Jn with a sl st in first ch. Ch 1, * (sc, dc) in next ch, sk next ch. Repeat from * around. Jn with sl st in first sc.

Rnd 2: Ch 1, (sc, dc) in same sc stitch as join. *Sk next st, (sc, dc) in next sc stitch. Repeat from * around. Jn with a sl st in first sc.

Border for side one: If changing colors, fasten off and Jn new color with a sl st in same sc st as join, ch 1. Working in back loops only, (sl st, ch 1) around. Jn with a sl st in first st. Fasten off and weave in ends.

Rnd 3: Flip cowl to work in the original chain row. Jn main cowl color (same color as Rnd 1) with a sl st in one of the skipped chains from Rnd 1. Ch 1, (sc, dc) in same chain as join. *Sk next chain, (sc, dc) in next ch. Repeat from * around. Jn with a sl st in first sc. Fasten off and weave in ends.

Border for side two:

Repeat the border for side one in Rnd 3.
Leg Warmers:

Row 1: Ch 10, (sc, dc) in 2nd ch from hook. *Sk next ch, (sc,dc) in next ch. Repeat from * to end of row.

Row 2: Ch 2, sl st in the original chain row and pivot the work so that you are now working in the opposite direction. Ch 1, (sc, dc) in same ch, *sk next ch, (sc, dc) in next ch. Repeat from * to end of row.

Row 3-9: Ch 1, turn, (sc, dc) in next st, *sk next st, (sc, dc) in next st. Repeat from * to end of row. Fasten off at the end of row 9 leaving tail long enough to sew legwarmer together along sides. Weave in ends.

For top and bottom border, jn with sl st, (ch 1, sl st) evenly around. Jn in first st with a sl st. Fasten off and weave in ends.

Marie Antoinette Kitty Leggins

MA leggins cowl front

Marie Antoinette Kitty Leggins close up


Posted in Uncategorized | Tagged , , , , , , , , , , , , , , , , , | 4 Comments

Cat Ears or Fox Ears Crochet Pattern

IMG_2267

Here's Starling wearing the fox ears.

Here’s Starling wearing the fox ears.


Fox Ear or Cat Ear Free Crochet Pattern

*I use a K (6.50 MM) hook and Red Heart Super Savor Yarn or Caron Simply Soft Yarn. For smaller ears try an F (3.75 MM) hook. The K hook is designed to be adult size. I buy a stack of those cheap, no-slide headbands at Wal-Mart and simply slide the ears on there after they are stuffed and completed. They are also really easy to add on to a beanie, hoodie, or all kinds of other things! Just get creative!

*For the fox ears I like to use Lion Brand Homespun yarn because it’s that kind of yarn you can brush a little and it will flare out all bushy. This makes a nice tuft on the top of the ears after I use the black yarn to sew the front and back of the ears together. I would think any kind of brush-able-into-bushy yarn would work the same.

(Make two.)

Back of ear:

Row 1: With orange, ch 5, sc in 2nd ch from hook, dc, sc, sl st in the last ch. Turn. (4 st.)

Row 2: Sc in 1st 3 st, 2 sc in the last st. Turn. (5 sc.)

Row 3: Sc in 1st 4 st, 2 sc in the last st. Turn. (6 sc.)

Row 4: Sc in 1st 5 st, 2 sc in the last st. Turn. (7 sc.)

Row 5: Sc in 1st 6 st, 2 sc in the last st. Turn. (8 sc.)

Row 6: Sc in 1st 7 st, 2 sc in the last st. Turn. (9 sc.)

Row 7: Sc in 1st 8 st, 2 sc in the last st. Turn. (10 sc.) Fasten off and weave in ends.

Row 8: Sc in 1st 9 st, 2 sc in the last st. (11sc.) Fasten off and weave in ends.

Front of ear:

Row 1: Using white, ch 8, sc in 2nd ch from hook and across. Turn. (7 sc.)

Row 2: Sc in first 3, decrease, sc in last 2. Turn. (6 sc.)

Row 3: Decrease, sc in the next 2 st, decrease. Turn. ( 4 sc.)

Row 4: Sc across. Turn. (4 sc.)

Row 5: Decrease twice. Turn. (2 sc.)

Row 6: Sc across. (2 sc.) Fasten off and weave in ends.

For fox ears, sew front of ear to back using black yarn. If you are making solid color ears, simply use the same color yarn instead.

Bottom of ear:

Ch 6, sc in 2nd ch from hook, dc, tr, dc, (sc, ch 1, sl st) in last chain. Ch 1, pivot, then sc in same chain-working back in opposite direction now. Dc, tr, dc, (sc, ch 1 sl st) in last chain. Fasten off leaving tail long enough to sew to ear.

Sew the bottom of the ear in place, stuffing as you go along. Fasten off and weave in the ends. These ears slide right onto the headbands because of the nice size of the stitches from using the K hook, and also whip up really fast for the same reason!IMG_2268

IMG_2271

IMG_2313

Posted in Uncategorized | Tagged , , , , , , , , , , , , , , , , , , , , , | Leave a comment

My Chemical Romance inspired sleep mask crochet pattern

funghoul5

I didn’t make the actual sleep mask pattern for this! The mask itself is NOT my pattern! I made some adjustments to an inspiration pattern I found which I will describe in this post. For the original pattern that I keep referring to, you probably want to go to this link, or you can click on the picture of the ORIGINAL, ADORABLE Owl mask pattern and it will also take you to her blog and her free pattern. Am I making that clear enough? *snort* I’m describing a lot of changes and such, but the base mask pattern is hers, lolz, and here’s where you can find it:

Find the Repeat Crafter Me original pattern that I used here.

Find the Repeat Crafter Me original pattern that I used here.

What? I wanna make sure people get credit for their work, lolz! Okay, now skim down through this post first to see what I did differently to make your own Killjoy mask! You should be able to use what I’ve explained here to make any one of their masks.


What I did differently:
*I used a K (6.50 MM) hook and Red Heart Super Savor yarn. (I tried using an F (3.75 MM) hook at first, but it was a little small for me, but probably great for a kid! So…K hook for adult, F hook for a kid!


Mask:

For the mask, I followed the pattern in the link pretty much spot on until the very last where she says to sc all the way around it. (That’s after row 23.) Instead, I chain 1, hdc in the same spot and work hdc all the way around the mask. In same places, like the very top of both sides of the eyes and all of the corner-type areas, I worked two hdc to make sure the mask didn’t begin to warp inward. So if the stitches seem too tight, just add an extra stitch here and there as you see fit, but if it’s turning out just fine then yo don’t have to.

Triangle:

*Make 4

*Use the same size hook as you use to make the mask.

I used the basic concept of the Owl nose from the inspiration pattern and added a mirroring side and a more pointed tip. Here’s what I came up with:
Ch 4, sc in 2nd ch from hook, hdc, (dc, ch 2, sl st) in last ch. Pivot to work back up the chain. Ch 2, dc in same ch as the last sl st, hdc, sc. To create the point, ch 3, sl st in 3rd ch from hook, then join with a sl st in the very first sc of the triangle.
Dots on Party Poison Mask:

If you want to make the Party Poison sleep mask, for the light blue dots simply use only one round of the ‘eye’ pattern on the Owl Mask pattern I keep referring to.

The ‘X’ on Fun Ghoul’s sleep mask:

*Make 2 of these strips

Make sure to stitch these on before you add the triangles. With the same hook you used for everything else, chain 14, then sl st in the 2nd ch from hook and down the chain. Fasten off leaving tail long enough to sew strip to mask.


More Pictures

And now, here are a bunch of pictures of my Mizzy Kitty putting up with my crap like a real champ. She’s so easy to get along with. Oh, and then I’m adding a picture at the end that I whipped up to suggest what each of the masks could look like in case you need a guide for the other three, since I only made a Fun Ghoul one.

funghoul1

funghoul3

funghoul4


funghoul2

Killjoy Mask Inspiration

Posted in Uncategorized | Tagged , , , , , , , , , , , , , , , , , , , , , , , | 1 Comment